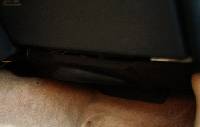
Shown here is the underdash area before the installation of the waveguides was begun.

Shown here is the face of the guide mount in place for positioning and fit. 2 sheets of 1/2" MDF were attached back to back to form the face of the guide mount.
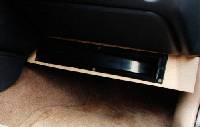
Shown here is another fitting of the guide mount with the guide in place to check the positioning of the driver once installed.
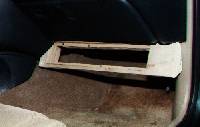
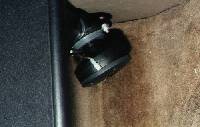
Shown here is the passengers side guide mount in place to determine driver position and the location of the mounting brackets which are shown in figure 5.
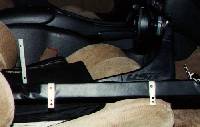
Shown here is the passenger side waveguide mount with the guide in place. A four-point mounting system was used to provide a stable mounting. Two 'L-brackets' were placed on the top of the guide which are attached to the underside of the dash using factory dash screw locations. Two fabricated metal strips were used on the left and right sides to minimize movement.
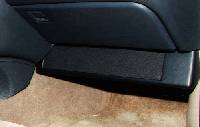
Shown here is the passenger side waveguide mounted with the grill in place.
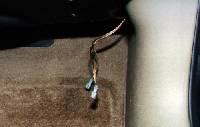
Shown here is the passenger side waveguide speaker wire with terminating plugs in place.
Shown here is the passenger side waveguide with speaker wires attached before rotating the driver out of the way of the passenger foot area.
| Copyright ©Russell A. Hatfield, 2001-forever |
This site is designed for a resolution of 800X600 or higher.